How To Custom Print and Naturally Dye A Summer Bandana
One of our favorite summer accessories is a bandana scarf. This versatile scarf is perfect to tie in your hair on a hot day, wear around your neck for a cute summer dress accent, or wear to summer festivals.
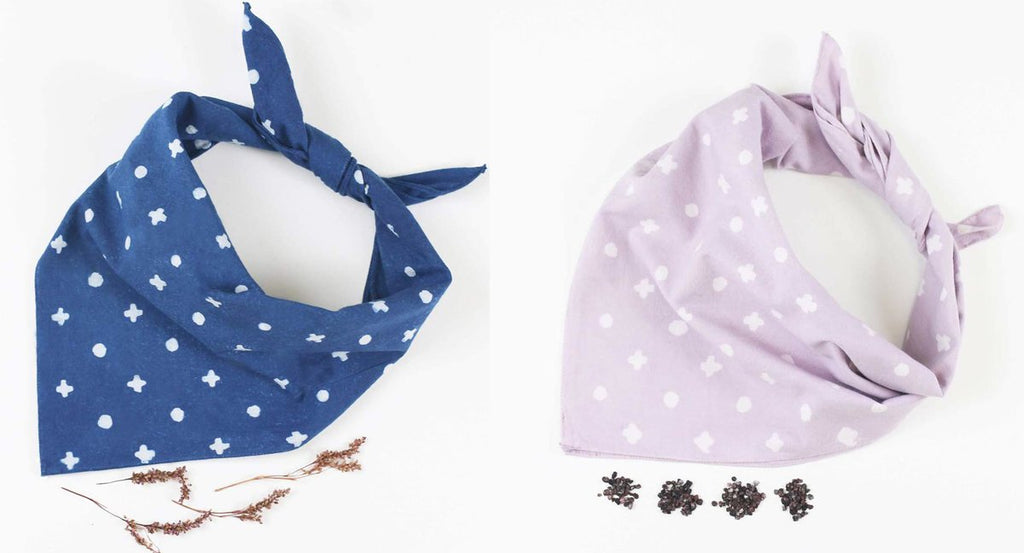
We recently released a collection of hand printed and naturally dyed bandanas, made locally by Anchal's dyeScape artisans. When the team first started talking about design ideas for the bandanas, we knew we wanted to explore and broaden our pattern making abilities. We eventually decided to create our own stencils and do a rice paste resist to create a beautiful, one of a kind pattern. We cut the stencil out of a mylar plastic sheet and then used the stencil to print a pattern on our fabric using rice paste. The rice paste acts as a barrier between the dye and the fabric. Everywhere the rice paste dries will stay white while all other areas of the fabric will accept the dye. Once the paste was mixed and applied to the fabric, the cotton bandanas were ready to be dyed. To achieve our three summer colors, we used marigold flowers, pre reduced indigo powder, and cochineal extract.
The exciting thing about this process is that is is all natural and can be replicated at home. We're sharing the basic steps we used so you can custom print and naturally dye your own bandana for the summer.
Steps to custom print and naturally dye a cotton bandana:
Step 1: Cut the fabric to size if you are purchasing in bulk.
Step 2: Wash the fabric through a process called scouring. Scouring is deep cleaning of fabric to help assure an even color when dyeing. Scouring is necessary to remove hidden waxes and oils that were applied to the fabrics in the factories.
Step 3: After the fabric is scoured it is ready to be mordanted. All of the natural dyes we use besides indigo require the use of a mordant to bond the dye to the fabric. The mordant helps with colorfastness and enhances the color of the dye. Since our bandanas are made of cotton, we mordant with alum acetate. Once the fabric has been mordanted, it is ready for the dye bath.
Step 4: Make the rice paste from one part rice bran, one part rice flour and one part water. The ingredients are added together, rolled into dumpling size balls and then steamed in a rice cooker for 2 hours. Once the rice balls are soft and sticky, they can be blended together into a peanut butter consistency and then applied to your fabric.

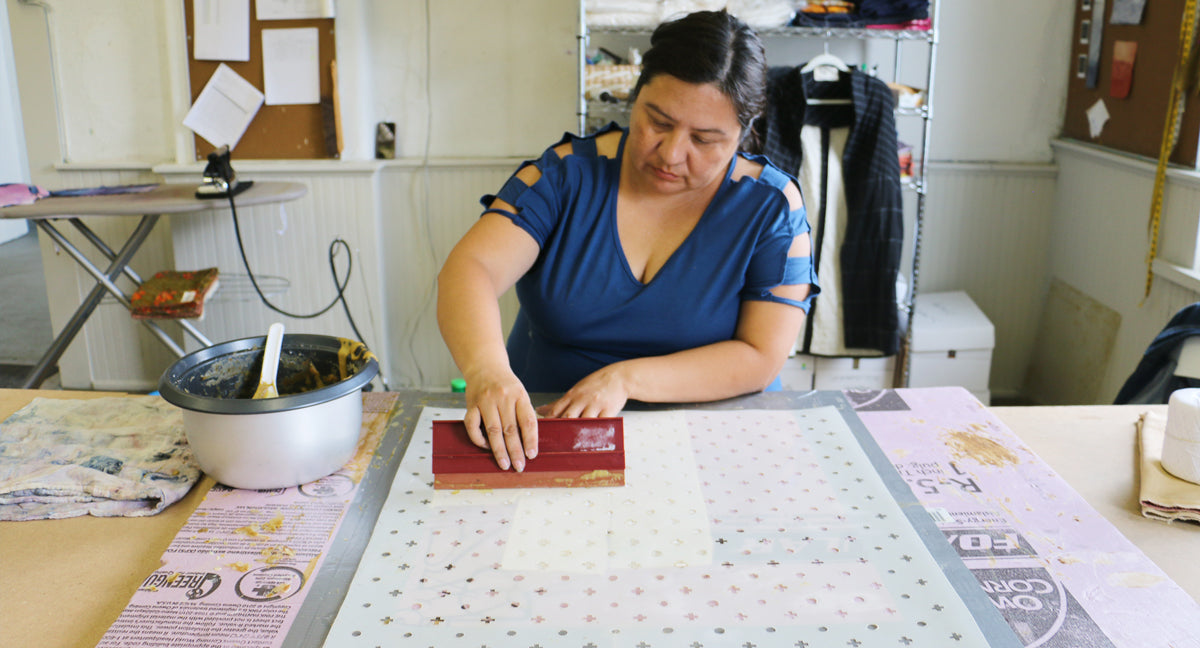 Step 5: Apply your paste to the fabric through a stencil. Remember that where ever you apply the rice paste and let it dry, the fabric will remain white.
Step 6: Let the rice past fully dry before moving on to dyeing
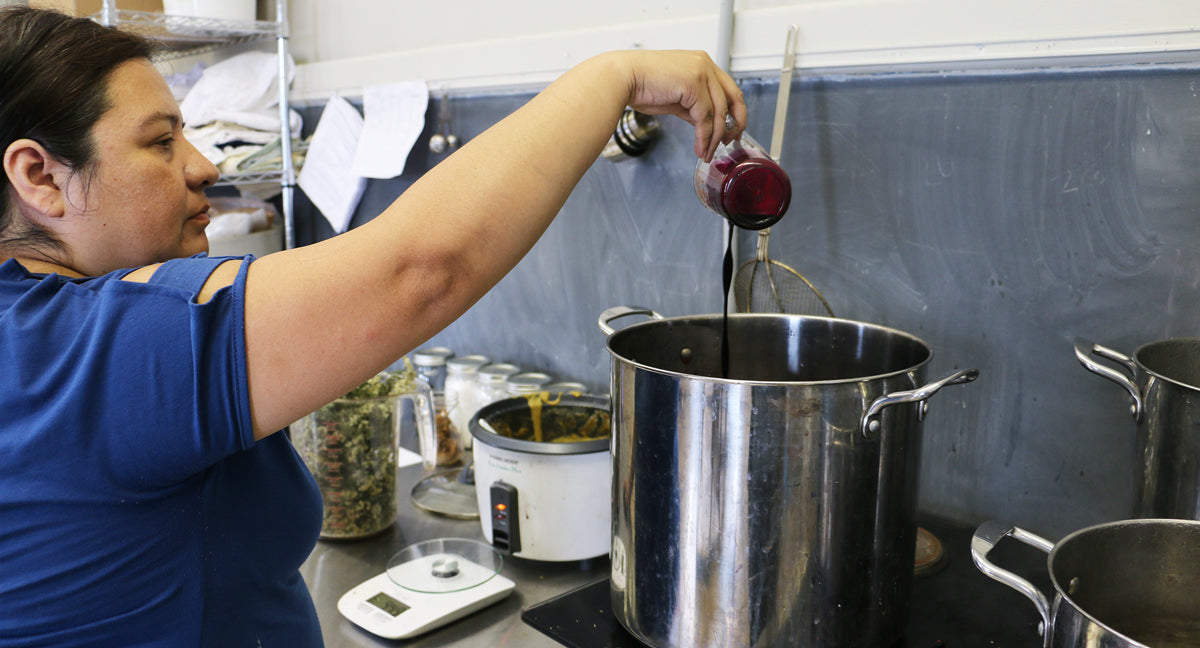
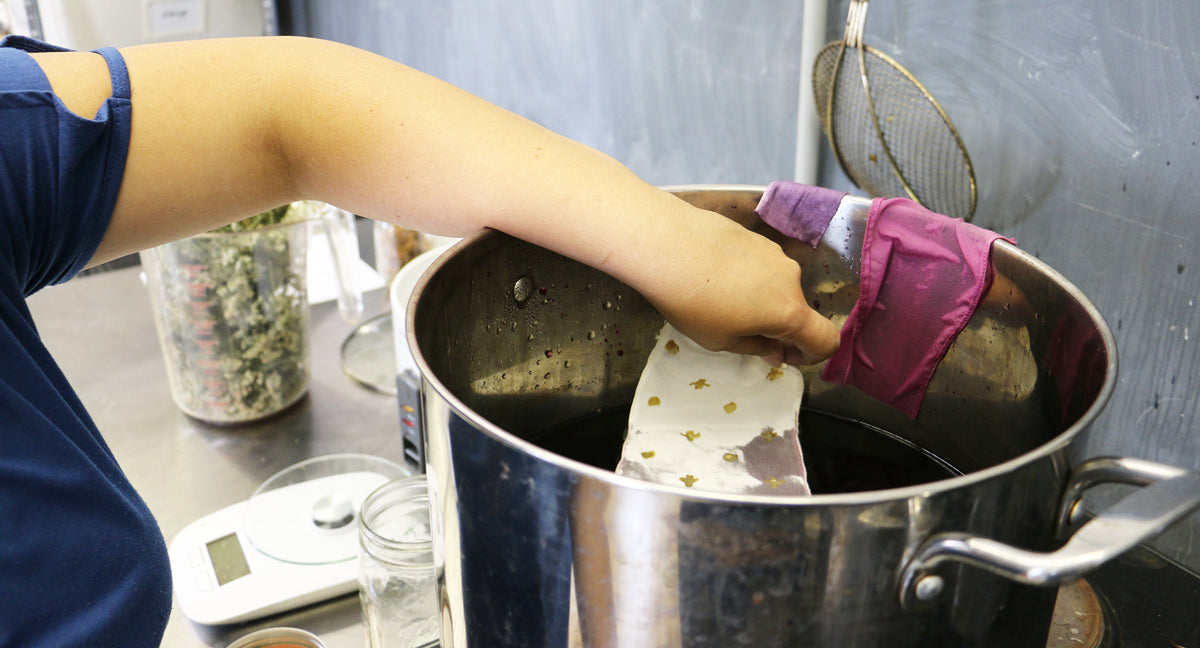
Step 7: Dye your fabric in your prepared dye bath. We used indigo, marigold and cochineal to achieve our desired colors.
What we used:
INDIGO: While we grow our own indigo in Louisville, our plants were not mature enough to be used for dyeing this season's bandanas. Instead we used pre-reduced indigo powder which allowed us to dye all of our bandanas with one dye bath. Once the dye bath was made, we dipped the bandanas in for 3 minutes each and then let them oxidize outside for 20 minutes before rinsing.
MARIGOLDS: We also grow marigolds in our dyeScape garden, and use the dried flowers to create a dye bath. To extract the beautiful marigold dye, we cooked the flowers at 180 degrees for 30 minutes. After cooked, we removed the flower material from the dye bath, then let it cool. Once the marigold dye fully cooled, the bandanas were dipped for only 3 minutes to achieve our desired color.
COCHINEAL: Cochineal is a dye derived from dried insects that live on cacti. It is one of the only dyes we have to buy, because it is not native to our area of Louisville,KY. We used a cochineal extract to create a dye bath by combining the liquid with hot water. For our bandanas we added iron to the dye bath to help deepen the shade of purple. Once the dye bath had cooled, we dipped each bandana for 3 minutes.
Step 8: Rinse, wash and line dry your dyed fabric before you begin to sew.
 Step 9: Sew your bandana with a rolled hem and voila, you have a finished naturally dyed bandana to wear!
Do you think you would ever try to naturally dye your own summer scarf? For those who are not so inclined, you can always purchase a one of a kind naturally dyed bandana for our locally made dyeScape collection.
Leave a comment